
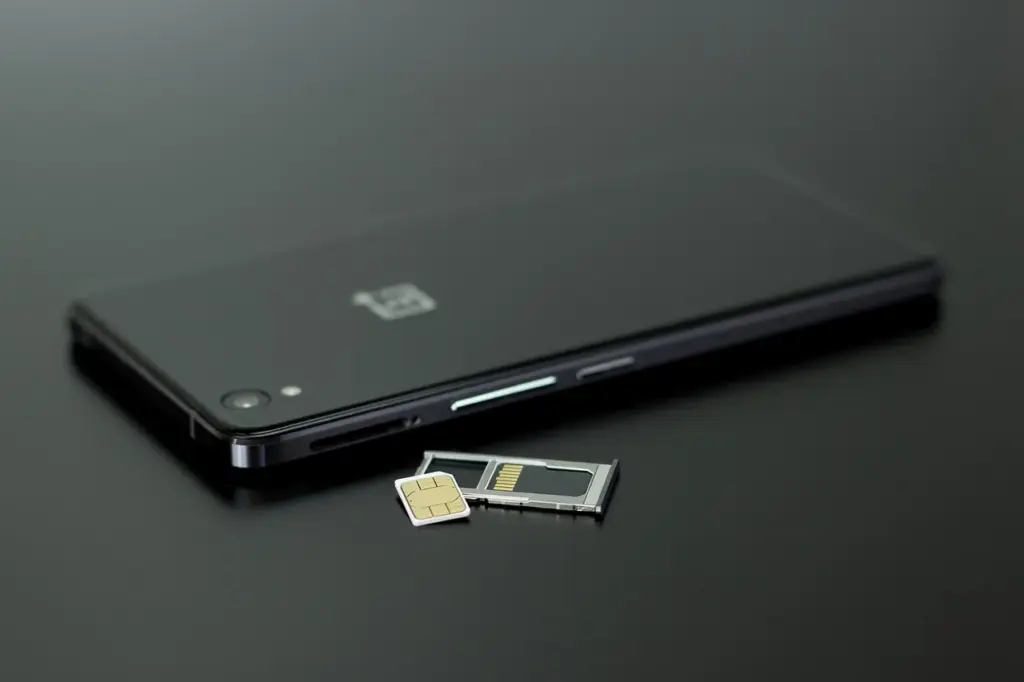
As mobile technology evolves, so do the devices we use daily. Today’s smartphones—from the latest iPhone models to a wide range of Android phones—are increasingly embracing eSIM technology. Instead of relying on a physical SIM card, users can now switch to embedded SIMs (eSIMs) for greater flexibility, support, and performance.
Whether you’re managing multiple plans, traveling, or simply looking for a more streamlined mobile experience, converting your traditional SIM to an eSIM is a smart move. This guide will help you understand how eSIM works, why it’s worth making the switch, and how to activate your eSIM on Apple, Samsung, and other mobile devices—with or without a QR code.
Why convert your physical SIM card to an eSIM?
Switching to an eSIM isn’t just a tech upgrade—it’s a smarter way to manage mobile connectivity. Unlike the physical SIM card, which can be lost, damaged, or stolen, an eSIM is securely embedded in your device. This means it cannot be physically removed and offers stronger protection for your mobile identity and data. Additionally, since there is no need to handle or insert any physical chip, the risk of mechanical damage to your device is reduced. Here’s why more and more people are making the switch:
- Space-saving – eSIM removes the need for a SIM card slot, making phones more compact.
- SIM security – Unlike physical SIM cards, an eSIM can’t be removed or lost, adding extra security to your phone number.
- Flexibility – Easily set up different plans without swapping SIM cards.
- Simplified account management – Many service providers offer online platforms to manage your mobile line.
- Convenience for travelers – No need to buy local SIM cards; just activate a compatible digital network.
- Lower environmental impact – eSIM helps reduce plastic production by eliminating the need for physical SIM cards.
For more insight into the evolution of SIM technology, check out our article on the difference between a SIM and an eSIM.
How to know if your device supports eSIM before switching
Before attempting to convert your physical SIM to an eSIM, it’s essential to confirm whether your current smartphone actually supports eSIM functionality. While most modern iPhone models and recent Android devices—such as Samsung Galaxy, Google Pixel, and select Huawei or Oppo phones—do include this feature, it’s not yet universal.
To check compatibility, you can start by going into your phone’s settings. On an iPhone, navigate to Settings > Cellular and see if the “Convert to eSIM” option appears. On Android, go to Settings > Connections > SIM Manager or Network & Internet to check for an eSIM activation section. If these options are not available, your device may not support eSIM, or your current mobile carrier might not enable it on your plan.
Alternatively, you can look up your phone model online or contact your carrier directly. For a faster solution, we’ve compiled a comprehensive list of eSIM-compatible devices across all major brands and models.
👉 Check the full list of eSIM-compatible smartphones here
Things to Consider Before You Switch
Before converting your SIM, make sure your mobile plan and carrier are compatible with eSIM. Some older plans may require upgrades to enable digital SIM support. It’s also wise to back up your important data, including contacts, as some carriers deactivate your physical SIM once the eSIM is activated.
Also note that once you convert your SIM, the physical SIM card often becomes invalidated for future use. If you plan to switch back, you’ll need to request a new SIM from your provider, so ensure you’re fully committed to the transition before finalizing the conversion.
For global travelers, it’s useful to install a secondary eSIM profile for international use while retaining your local number on a separate eSIM slot or plan. This ensures constant availability while optimizing your data usage and costs abroad.
Convert a physical SIM card to an eSIM on iPhone and Android
The process of switching from a physical SIM to an eSIM may vary depending on your device. Here’s how to do it on Samsung, Apple, and other Android smartphones.
How to Convert a Physical SIM Card to an eSIM on an iPhone?
If you’re using an iPhone XR, XS, or later, your device already supports eSIM. Apple has been one of the pioneers in pushing eSIM technology forward, even launching eSIM-only models in select countries starting with the iPhone 14 series. The process of converting your SIM to an eSIM is designed to be user-friendly but requires attention to a few technical steps.
- Go to Settings – Open your iPhone’s Settings app.
- Go to Cellular Data – Select Cellular or Mobile Plan.
- Add a Cellular Plan – Look for the option Convert to eSIM.
- Confirm the Process – Follow the on-screen steps to activate the eSIM. You’ll typically need to scan a QR code provided by your carrier.
- Update Your Device – Ensure your iPhone is updated to complete the eSIM setup.
It’s important to note that your phone needs to be connected to Wi-Fi during this process. Once the eSIM is installed, your iPhone will prompt you to label it (e.g., “Personal” or “Work”) and assign it to your default line. Before finalizing the process, make sure your device is updated to the latest version of iOS to avoid compatibility issues. If any issues occur, restarting the phone and resetting the network settings often solves the problem.
How to Convert a SIM to an eSIM on Samsung and Android Phones
While Apple provides a fairly unified eSIM experience, Android devices vary by manufacturer, which means the process differs slightly depending on whether you’re using a Samsung Galaxy, Google Pixel, or another Android phone. Fortunately, most recent models come with built-in eSIM support, and the setup steps remain intuitive.
To transfer your SIM to an eSIM on a Samsung or another Android phone, follow these steps:
- Go to Settings – Open Settings > Connections or Network & Internet.
- SIM Card & Network – Select SIM Cards and look for the option to activate an eSIM.
- Add an eSIM Profile – Scan the activation QR code provided by your carrier.
- Final Setup – Confirm the setup and ensure cellular data is enabled.
What to do If the conversion doesn’t work?

Despite detailed guides, issues may arise when switching from a SIM to an eSIM. Here are some solutions based on your device.
Solutions for iPhone Users
- Restart your device – A simple restart can sometimes fix the issue.
- Update iOS – Ensure your iPhone is running the latest software update.
- Reset network settings – Go to Settings > General > Reset > Reset Network Settings.
- Contact your carrier – Make sure your eSIM-compatible carrier has properly activated your eSIM profile.
Solutions for Android Users
- Check eSIM settings – Go to Connections and verify if eSIM is enabled.
- Restart your phone – A simple reboot may help reset the process.
- Scan the QR code again – Request a new activation QR code from your carrier.
- Ensure your phone is compatible – Not all Android devices support eSIM yet.
Converting your physical SIM to an eSIM is more than a tech update—it’s a way to take full advantage of what modern smartphones have to offer. Whether you’re using an iPhone, a Samsung Galaxy, or another eSIM-compatible device, the process is now accessible to most users, and carriers worldwide are supporting this shift.
The eSIM brings benefits in mobility, security, multi-line flexibility, and even sustainability. It’s a perfect solution for digital nomads, frequent travelers, or anyone who wants better control over their mobile experience. Plus, switching is often as easy as scanning a code and confirming a few settings.
Still unsure about the best eSIM for your destination or device?
👉 Explore our full eSIM comparison tool here